- 网站使用 HTTPS 协议已是大势所趋,而要在 web 上使用 HTTPS 的话,我们首先需要获得一个 SSL 证书文件。本文介绍如何在 CentOS7 + Nginx 环境下,安装使用 Let’s Encrypt 免费 SSL 证书。
1.准备工作
(1)首先安装Nginx服务器,并确保正常运行。
1
2
3
|
yum install nginx -y
systemctl start nginx  //启动Nginx
systemctl enable nginx  //设置Nginx开机自启动
|
(2)服务器要开放80端口以及443端口
1
2
3
|
firewall-cmd --permanent --add-port=80/tcp
firewall-cmd --permanent --add-port=443/tcp
firewall-cmd --reload
|
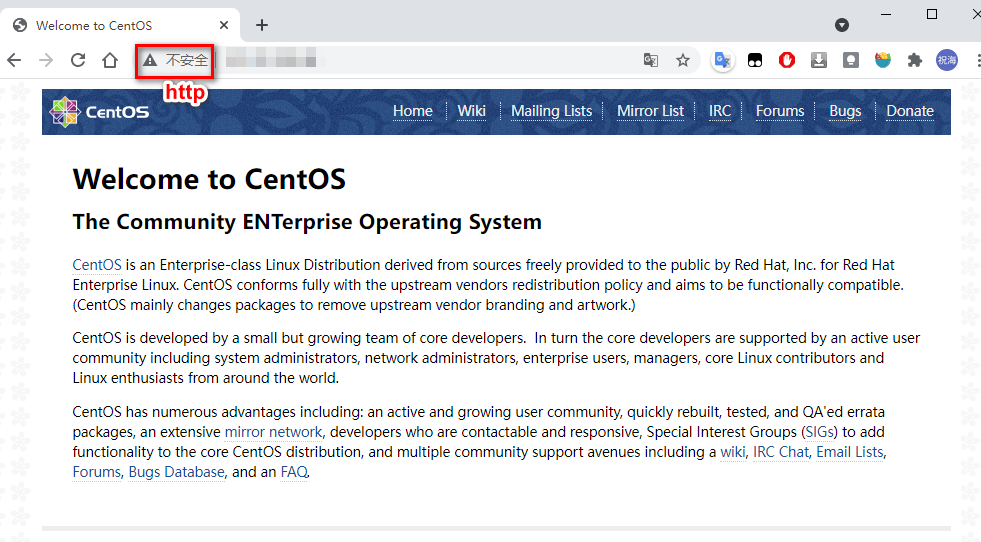
(3)需要有自己的域名,并在域名服务器创建一台A记录,指向服务器的公网IP。比如我这里使用blog.eebond.xyz这个域名。等域名解析生效后,访问:http://blog.eebond.xyz ,可以看到如下页面则说明域名解析成功、Nginx服务器正常运行:

2.安装certbot工具
我们采用certbot脚本方式申请let’s Encrypt证书,依次执行如下命令安装该工具:
1
2
|
yum install -y epel-release
yum install -y certbot
|
3.申请证书
(1)接下来我们要使用certbot命令初次申请证书,命令格式如下:
1
|
certbot certonly --webroot -w [Web站点目录] -d [站点域名] -m [联系人email地址] --agree-tos
|
还有不设web站点的申请方式:
1
|
certbot certonly --standalone -d [站点域名]
|
(2)这里我执行如下命令,读者根据实际情况修改:
1
|
certbot certonly --webroot -w /srv/www/blog -d eebond.xyz -m eebond0327@gmail.com --agree-tos
|
(3)申请成功后,证书会保存在 /etc/letsencrypt/live/demo.hangge.com/ 下面:
(4)使用如下命令可以查看证书的有效期:
1
|
openssl x509 -noout -dates -in /etc/letsencrypt/live/blog.eebond.xyz/cert.pem
|
4.证书更新
(1)Let’s Encrypt 证书的有效期是 90 天,需要长期使用的话,需要在失效前进行延长申请。我们可以执行如下命令去更新:
1
2
3
4
5
|
//更新证书
certbot renew --dry-run

//如果不需要返回的信息,可以用静默方式
certbot renew --quiet
|
(2)我们也可以将更新证书的脚本写到定时任务来自动完成,免得我们手动操作。首先执行如下命令开始编辑定时任务:
(3)此时会进入 vi 的编辑界面让你编辑工作(每项工作都是一行)。我们在末尾添加如下一行内容,表示每月 1 号 5 时会执行执行一次更新,并重启 nginx 服务器:
1
|
00 05 01 * * /usr/bin/certbot renew --quiet && /bin/systemctl restart nginx
|
不设站点目录的生成证书方式,需要先关闭nginx服务器再更新证书
1
|
00 05 01 * * /usr/bin/certbot renew --dry-run --pre-hook "service nginx stop" --post-hook "service nginx start"
|
5.配置Nginx
(1)编写nginx配置文件:
1
|
vim /etc/nginx/conf.d/cloud.conf
|
(2)修改默认的server_name、 ssl_certificate、 ssl_certificate_key等地方
 1
 2
 3
 4
 5
 6
 7
 8
 9
10
11
12
13
14
15
16
17
18
19
20
21
22
23
24
25
26
27
28
29
30
31
32
33
34
35
|
   server {
       listen       80;
       listen       [::]:80;
       server_name  blog.eebond.xyz;
       rewrite ^(.*)$ https://$host$1 permanent;
   }

# Settings for a TLS enabled server.

   server {
       listen       443 ssl http2;
       listen       [::]:443 ssl http2;
       server_name  blog.eebond.xyz;
       root         /srv/www/blog;

       ssl_certificate "/etc/letsencrypt/live/blog.eebond.xyz/fullchain.pem";
       ssl_certificate_key "/etc/letsencrypt/live/blog.eebond.xyz/privkey.pem";
       ssl_session_cache shared:SSL:1m;
       ssl_session_timeout  10m;
       ssl_ciphers HIGH:!aNULL:!MD5;
       ssl_prefer_server_ciphers on;

       # Load configuration files for the default server block.
       include /etc/nginx/default.d/*.conf;

       error_page 404 /404.html;
           location = /40x.html {
       }

       error_page 500 502 503 504 /50x.html;
           location = /50x.html {
       }


   }
|
(3)保存退出后,重新加载Nginx配置文件:
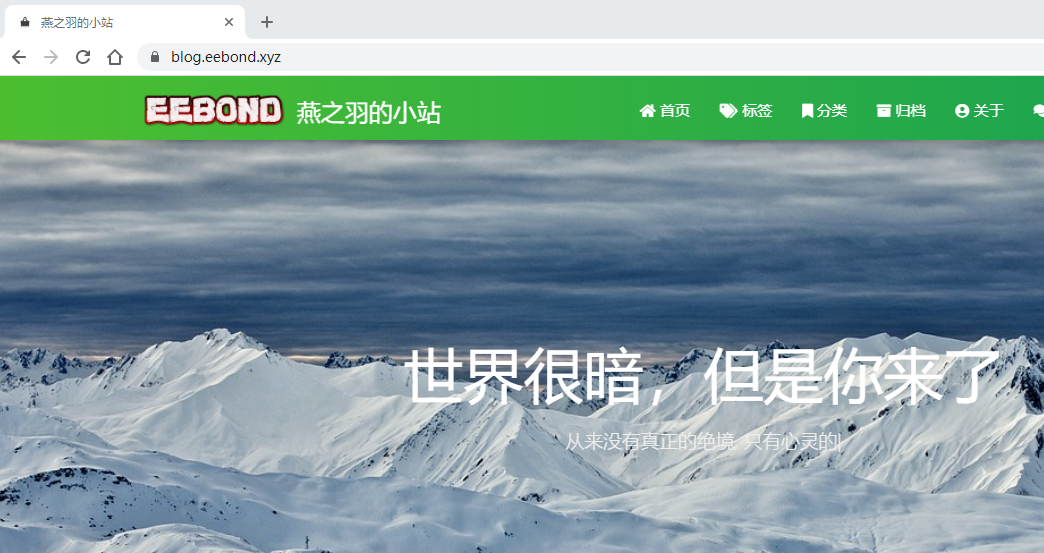
(4)再次使用浏览器访问http://blog.eebond.xyz ,如果正常跳转到https://blog.eebond.xyz ,并且地址栏有个小锁图标,则说明https配置成功了:
我这里是把我的博客部署到上面了,有时候输入blog.eebond.xyz没有小锁,可能是浏览器之前访问过,有缓存。